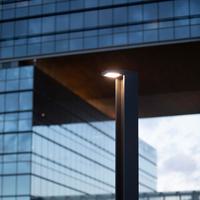
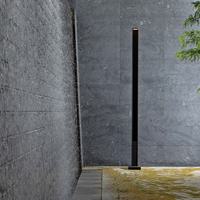
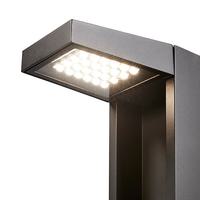
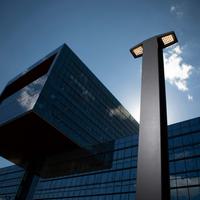
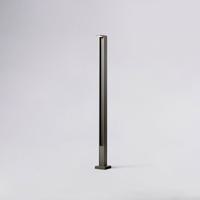
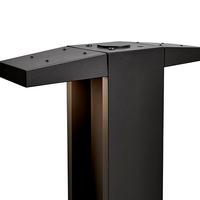
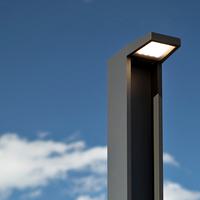
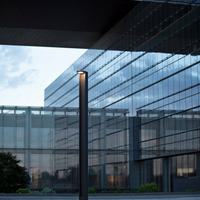
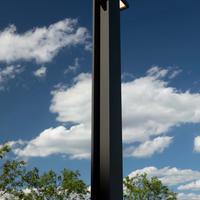
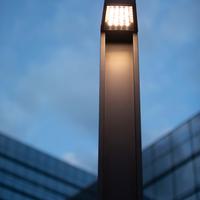
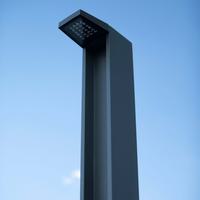
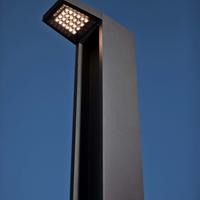
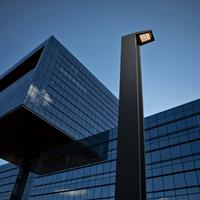
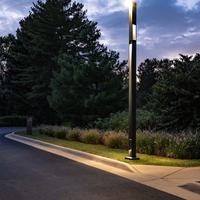
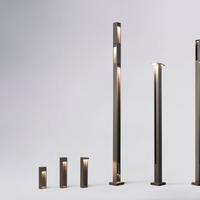
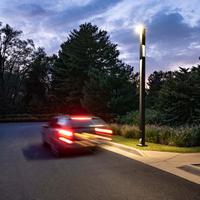
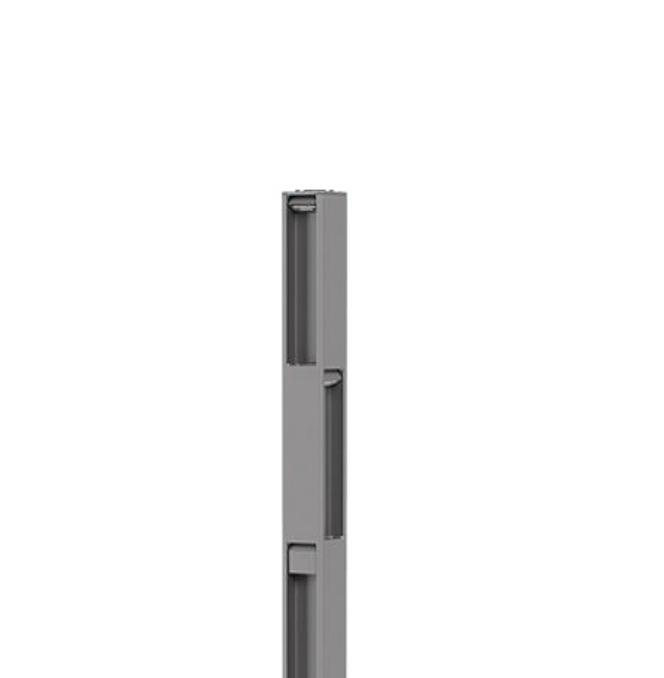
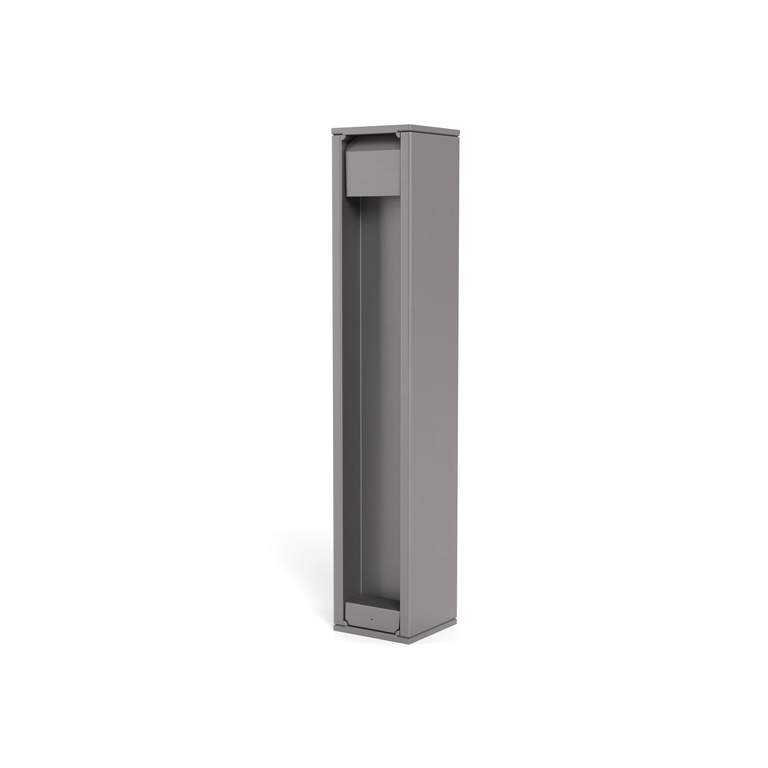
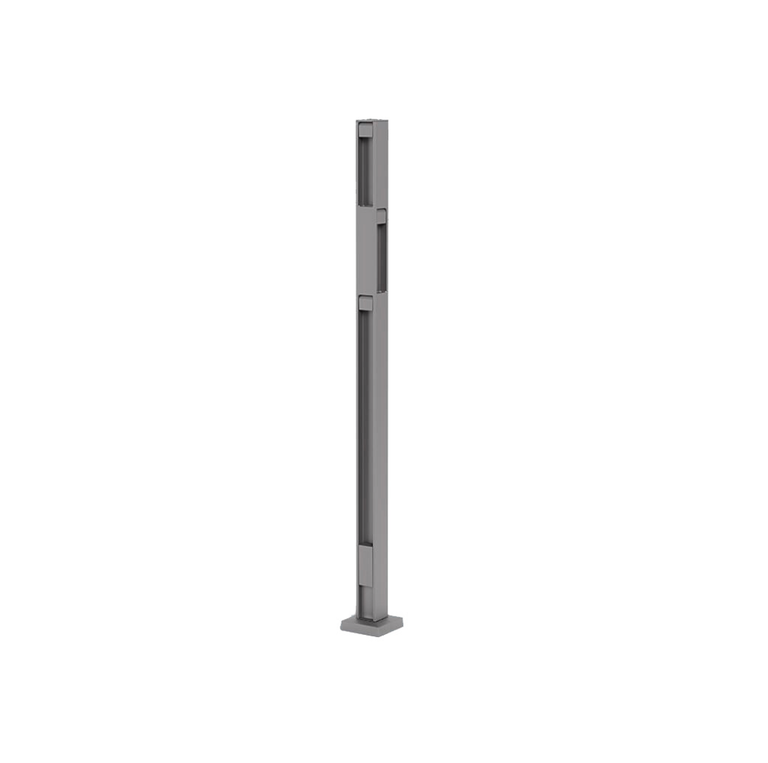
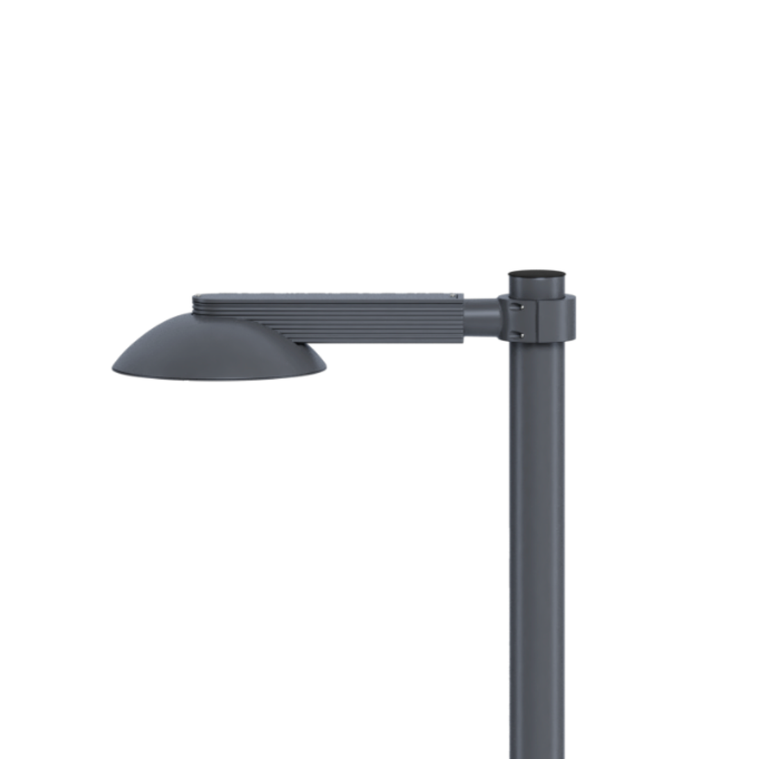
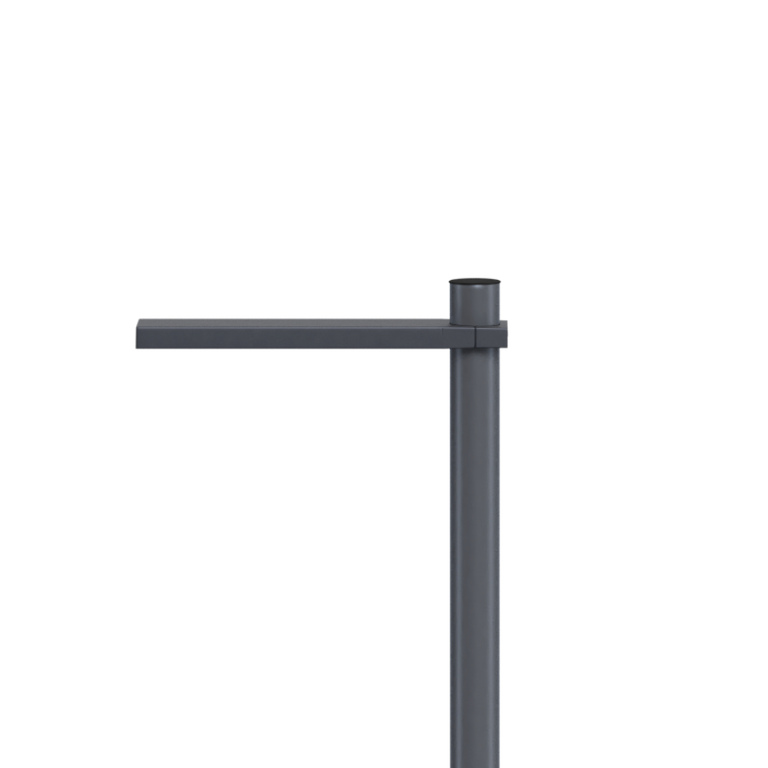
Profile creates beautiful and intentional light emanating from a refined, minimalist design. The Profile Area Light has a single or dual-mounted luminaire mounted atop an architectural I-beam column. Modular add-on sections customize the luminaire's height and directionality. Further tailor the area light’s performance and aesthetic with optional grazing or foot lights.
- Features
-
Available in 10 ft (3.1m), 12 ft (3.7m), 14 ft (4.3m), and 16 ft (4.9m) pole heights
Offered in a range of color temperatures, distributions and outputs
Buy America Compliant, Full Cutoff, and International Dark-Sky Approved


If you’d like to request a quote, finish and material samples, or information about making modifications to this product, please contact your Landscape Forms representative.
All colors, textures and patterns represented on the Landscape Forms website are approximate and may vary from samples and final product.


Articles
Designed in collaboration with award-winning lighting designer Linnaea Tillett and Tillett Lighting Design Associates, Profile creates beautiful and intentional light emanating from a refined, minimalist design.
Introducing the Profile Family of Lights: A Partnership Between Landscape Forms and Award-Winning Lighting Designer Linnaea Tillett
Make every light count. This was a lesson Linnaea Tillett learned when she was completing her thesis for a PhD in Environmental Psychology. A long-time volunteer in NYC, Tillett was struck by the fact that the lighting in underserved communities was more like something you’d see in high-security areas, not in a livable community.
Meet Linnaea Tillett, PhD, CEO of Tillett Lighting Design Associates
In 2021, Landscape Forms introduced the Profile line, a collaboration with Tillett Lighting Design. The development of Profile was informed by the experiences Tillett Lighting Design had designing lighting for outdoor spaces.
Setting The Tone: A Conversation with Linnaea Tillett and Tillett Lighting Design Associates
2021 was a milestone year for Landscape Forms, earning a record 55 product design awards. For Chief Creative Officer, Kirt Martin, these achievements are absolutely cause to celebrate, but they also tell a larger story—a narrative about people, business and design integrity, the power of innovation, and what the future holds for outdoor space.
Innovation That Delivers: Landscape Forms Celebrates Its Most Successful Year